Rowley Company is a leading manufacturer and international distributor of home décor products that incorporate value-added services and solutions designed for our professional trade and retail partners. Since 1962, Rowley has been helping support drapery and upholstery workrooms, installers and designers by providing the tools, supplies, education, and technical expertise that they need to successfully grow their businesses.
Our vast portfolio offers over 15,000 products available for same business day shipping on orders placed before 3 PM ET. Become a
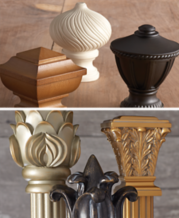
Rowley Trade Member today to enjoy dedicated services, competitive wholesale pricing, plus exclusive access to our family of designer drapery hardware brands: AriA
® Metal Hardware, Finestra
® Wood Hardware, The Finial Company™ and Paris Texas Hardware™.